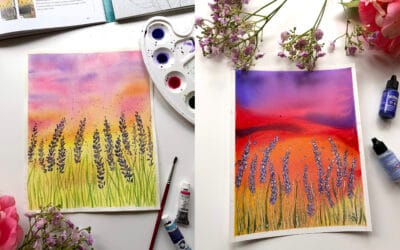
- Keep calm and experiment
My first and most important advice when you’re mastering the art of alcohol inks is to keep calm and experiment! As they say, it takes at least 1000 hours to master something, and that is a 100% true for alcohol inks as well. Experimenting with your inks is key to getting a better understanding of how the inks flow, how they react to different air blowing tools, and to find out which techniques work for you and you enjoy doing. Playing with your inks gives you a better feeling to how they react, and the more you play with them, the more intuitively you start to manipulate your inks.
Investing in a good workshop or course or watching YouTube videos can be very useful to get a better understanding of how to work with alcohol inks and learn about different techniques. But next to that, practice lots and experiment to develop your own way of working with the inks. There’s a learning curve, which keeps continuing. Even after having done alcohol inks for about 2,5 years, I am still not able to master all the techniques that are out there. That’s what makes alcohol inks such an exciting medium to work with! Try and focus on one or two specific techniques or styles that you like, and don’t try and master everything at once.
Bonus tip: Don’t want to waste all your paper on experiments you will never hang on your wall? Work on a ceramic tile that you can easily wipe clean again!
2. Go with the ink flow
Going with the ink flow is something that I needed to learn when starting out. Alcohol inks have a mind of their own and never do exactly what you want them to do. Therefore, a piece will never come out exactly as you envisioned it. Although it’s perfectly fine to have an idea in mind of what you want to create, have an open mind when it does not work out as planned and try and go with what the inks are giving you.
My best pieces have happened when going with the ink flow and creating something entirely different than intended. For example, sometimes when creating a piece, I see something interesting happening (often unintended), such as a specific structure appearing, the inks mixing in a cool way, even accidentally dropping inks on my paper can make me think ‘hmm this is interesting, let’s work with this’. I throw my initial plan overboard and start working with what the inks are giving me. Sometimes even the conditions, like high humidity, may limit the ways you can work with inks. Instead of working with your known techniques, explore if you can work with the humidity and explore new techniques that may work better in humid weather. This closely relates to my first tip as this also plays into the experimenting mode.
Of course, when you have had lots of practice with your inks it is possible to (re)create a specific style or composition you plan beforehand (like my roses pieces for example), but I promise you the best things happen outside of that comfort zone!
So go with the ink flow and you may just surprise yourself!
3. Less ink, more alcohol!
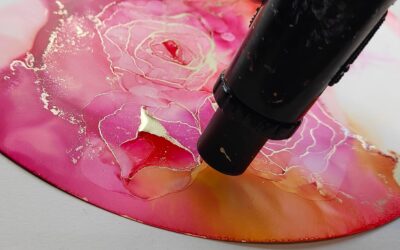
If there is one tip I could give myself when I was starting out with alcohol ink art, it is this relatively simple but important one: Less ink is more! It can be tempting to keep adding inks to your surface, but the more inks you add, the more difficult it becomes to rework your inks and it may start to become a little bit like a sticky mud of inks. Start out with just using a little bit of ink, because you can always add more in the process when needed. Alcohol inks are relatively pigmented, and you don’t need a lot of it to make the colors show. Especially for relatively pigmented inks, even one drop can be enough for me to create an entire rose.
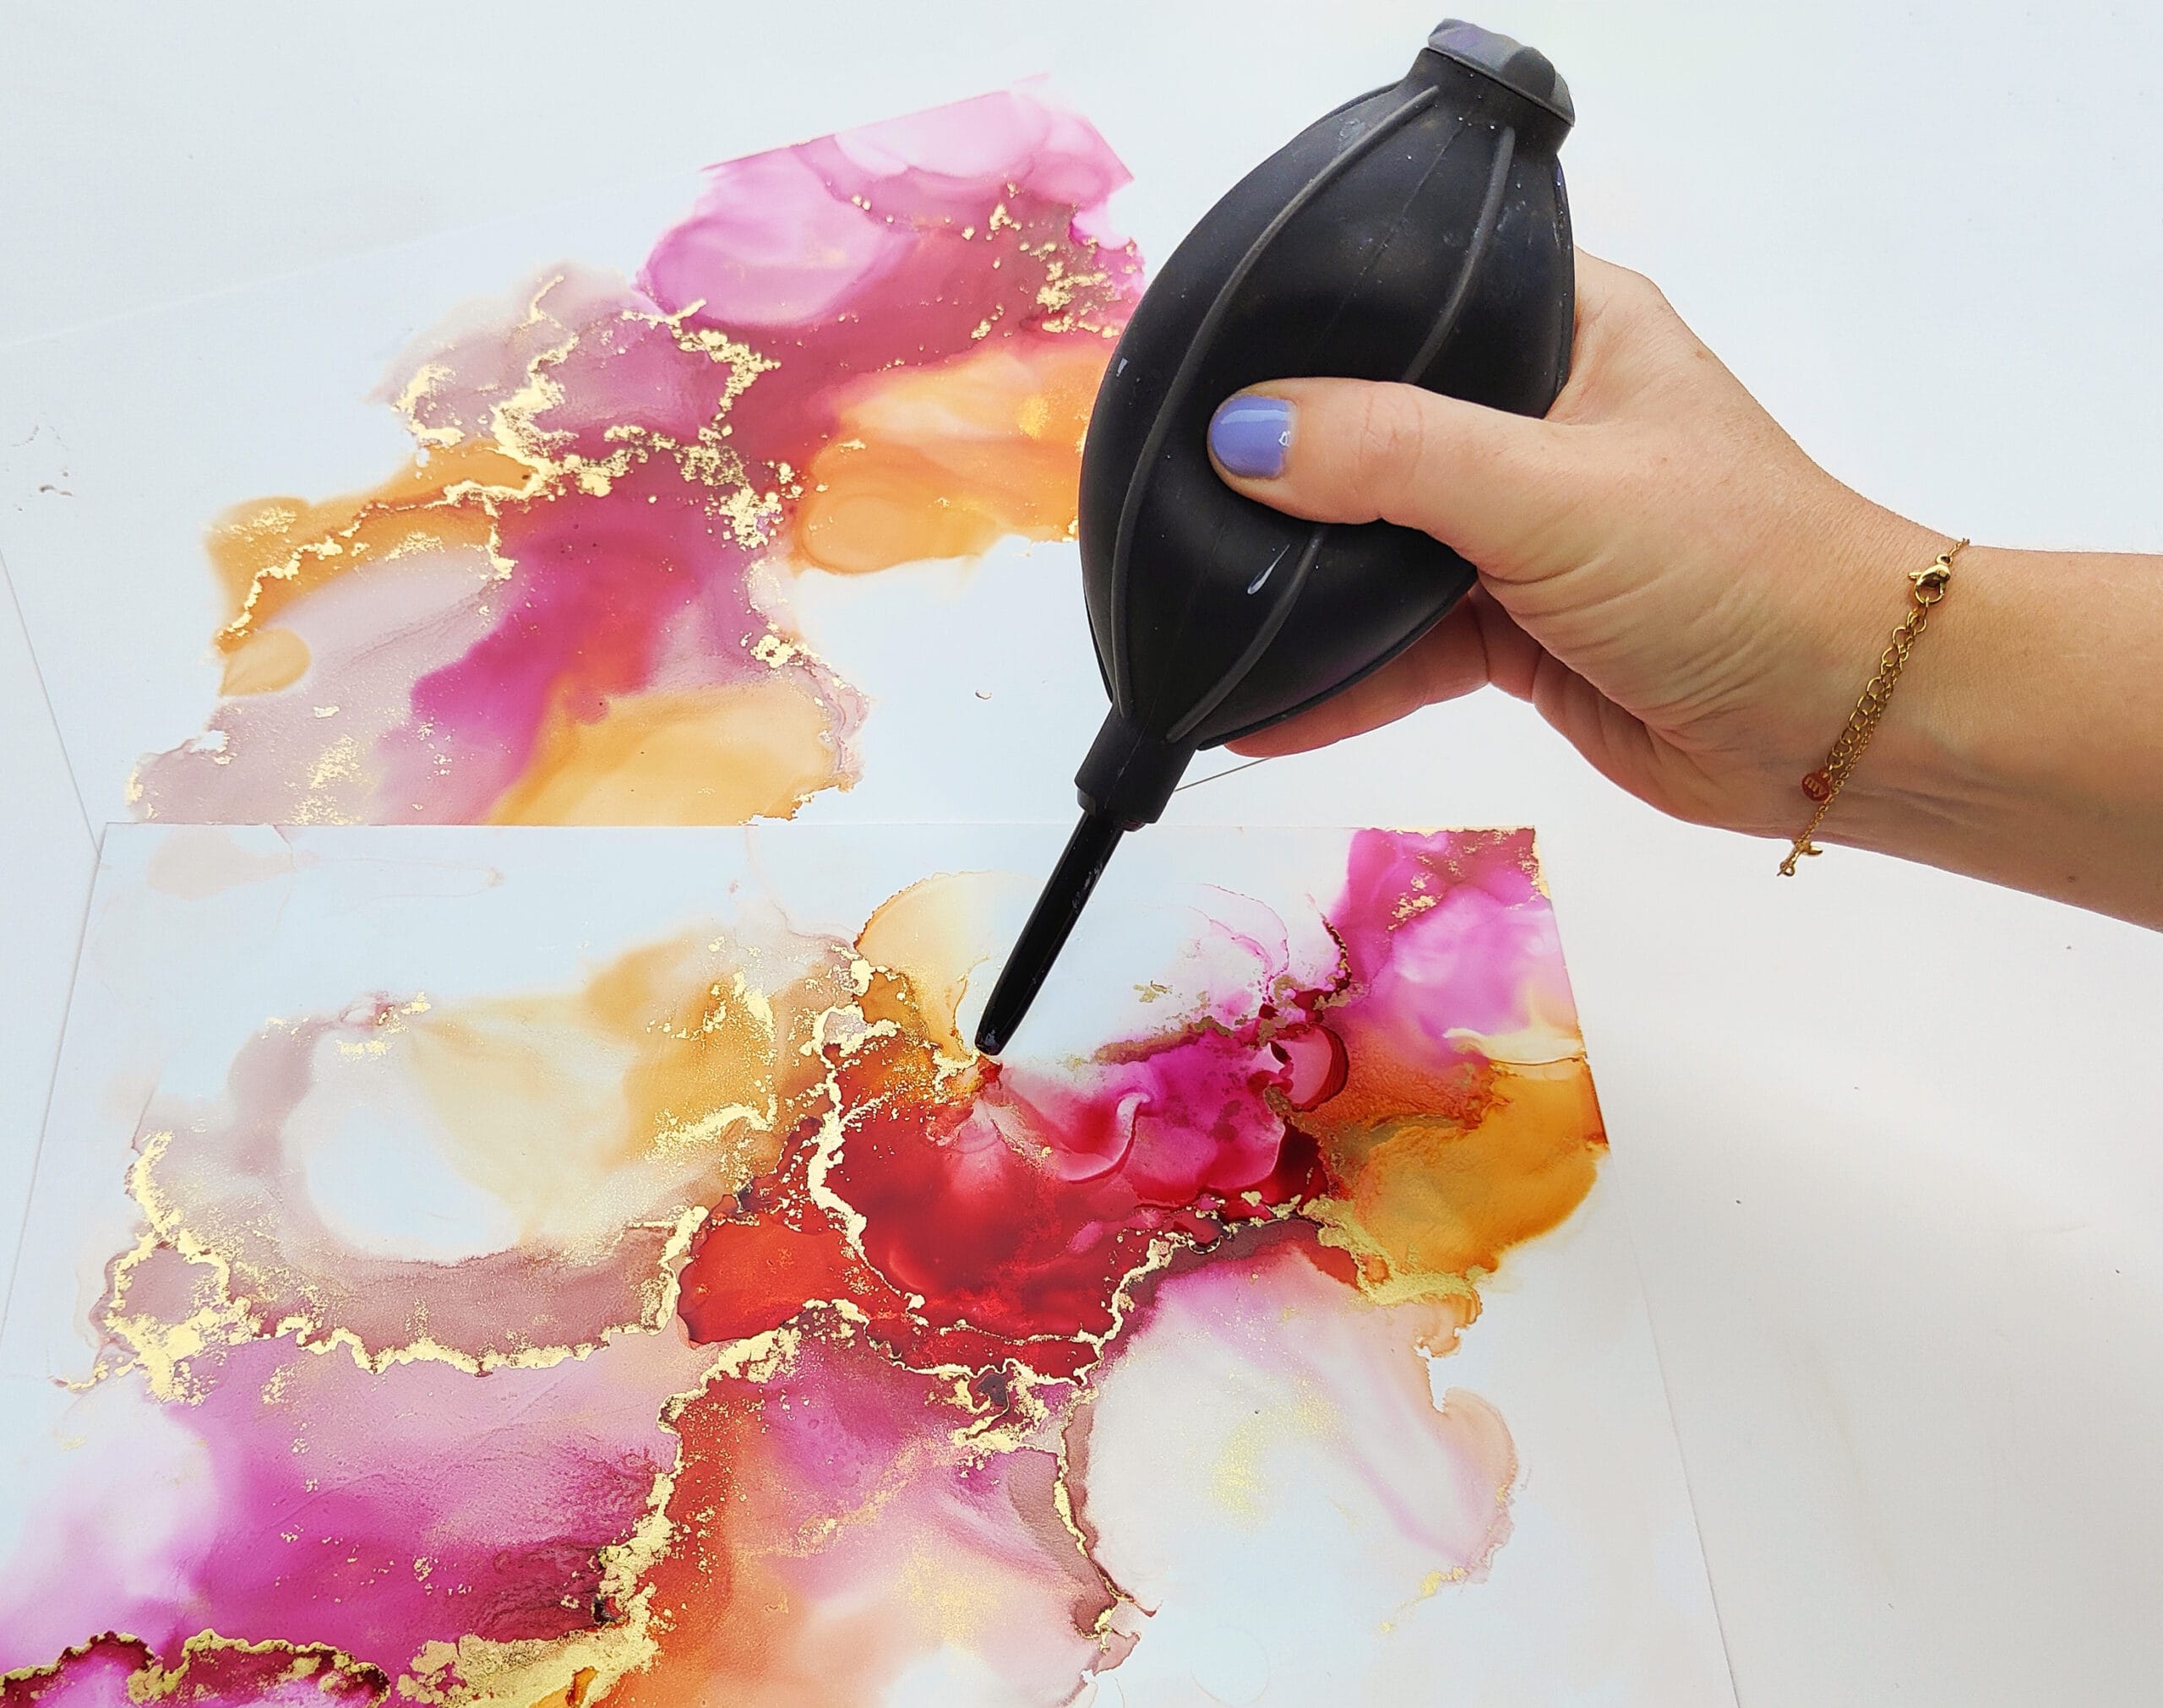
In contrast, you need a relatively large amount of alcohol (isopropyl). Using little ink and more alcohol will make it easier to make the inks flow around on your surface. Techniques that involve your heat tool, like ripples or roses, need this flow to blow the inks around to create the structures needed. In case you messed up and feel like your surface is becoming to saturated with inks, pick up a paper towel and just remove part of the inks.

4. Dear to fail
I know this can be difficult to hear when you’re a little bit of a perfectionist like me, but dear to fail! Don’t aim to create perfectly hangable pieces right away. Remember that you are learning something new. For every beautiful piece of art you see on social media or elsewhere, know that there’s probably at least a dozen failures that preceded it that we don’t see.
Why is failing a good thing? The failed pieces are the ones we learn most from (about what you should and shouldn’t do). It’s like life, you learn most when you make mistakes 😉
We learn from the things that did not work and can analyze how to improve the process. Also take out the parts of a failed piece that you do like and analyze how you achieved those results and continue from there. I often have pieces that I dislike, but there can still be interesting elements in it that I can work out in a future artwork.
Honestly, alcohol ink art has been one of the best ways to let go of my perfectionism (it really is like therapy)!
Bonus tip for failed pieces: Cut it into pieces for a greeting or thank you card!

5. Enjoy the process
While taking all these tips into account, the most relevant one is to enjoy the process! That is what we are here for after all isn’t it? It’s something that can be easy to forget when your inks are going everywhere but where you want them to go, you start to feel frustrated and wanna throw your inks out of the window. Trust me, I have been there! I know how frustrating the process sometimes (or a lot of the times) can be in the beginning. You see all those beautiful pieces on social media and videos in which it all looks so easy, until you try and do it yourself. In the beginning, try and enjoy the process and don’t focus too much on creating perfectly beautiful pieces. Just throw some inks on your surface and have fun and play. When all else fails and you are in that frustrated mood, take a break! If I have learned one thing it is that inking when feeling frustrated often does not lead to good results. What may also help is to start in a positive vibe to begin with, put on some good music to get in a positive mood and I can tell you it will show in your work.
I hope these 5 tips were valuable in continuing your alcohol ink art journey. Let me know which tip you found most valuable or which one you identify with most!
Be patient, good things take time.. Keep calm and you better enjoy the process in the meantime!
x Anne
P.s. Want more guidance in working with inks? Check out my online courses in which I help you get control over your inks step-by-step!