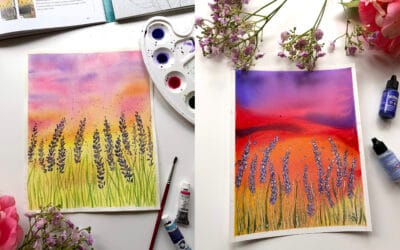
White alcohol inks are opaque and offer unique uses like adding textures, creating pastel shades, and working on dark surfaces. This blog covers their key features, creative applications, and tips for making them easier to work with.
1. How are white/opaque inks different from normal (transparent) alcohol inks?
White inks are opaque, unlike traditional alcohol inks, which are transparent. Most brands include a white ink in their collection, but the quality, consistency, and interaction with other inks can vary significantly between brands.
Due to their thicker consistency, white inks don’t flow across the paper as effortlessly as transparent inks. This unique property makes them challenging to work with. But no worries, I got some tips for you!
2. What can you use white inks for?
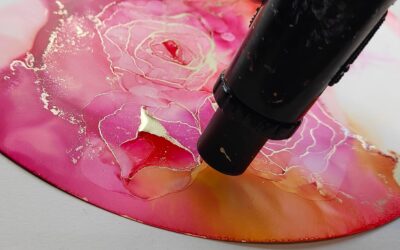
- White inks, depending on the brand, can create stunning textures when combined with transparent inks. Pinata blanco blanco gives beautiful texture when used with an ink blower, but it’s not so great for the applications mentioned below.
- They can also be mixed with transparent inks to achieve a matte finish or to produce softer, pastel shades.
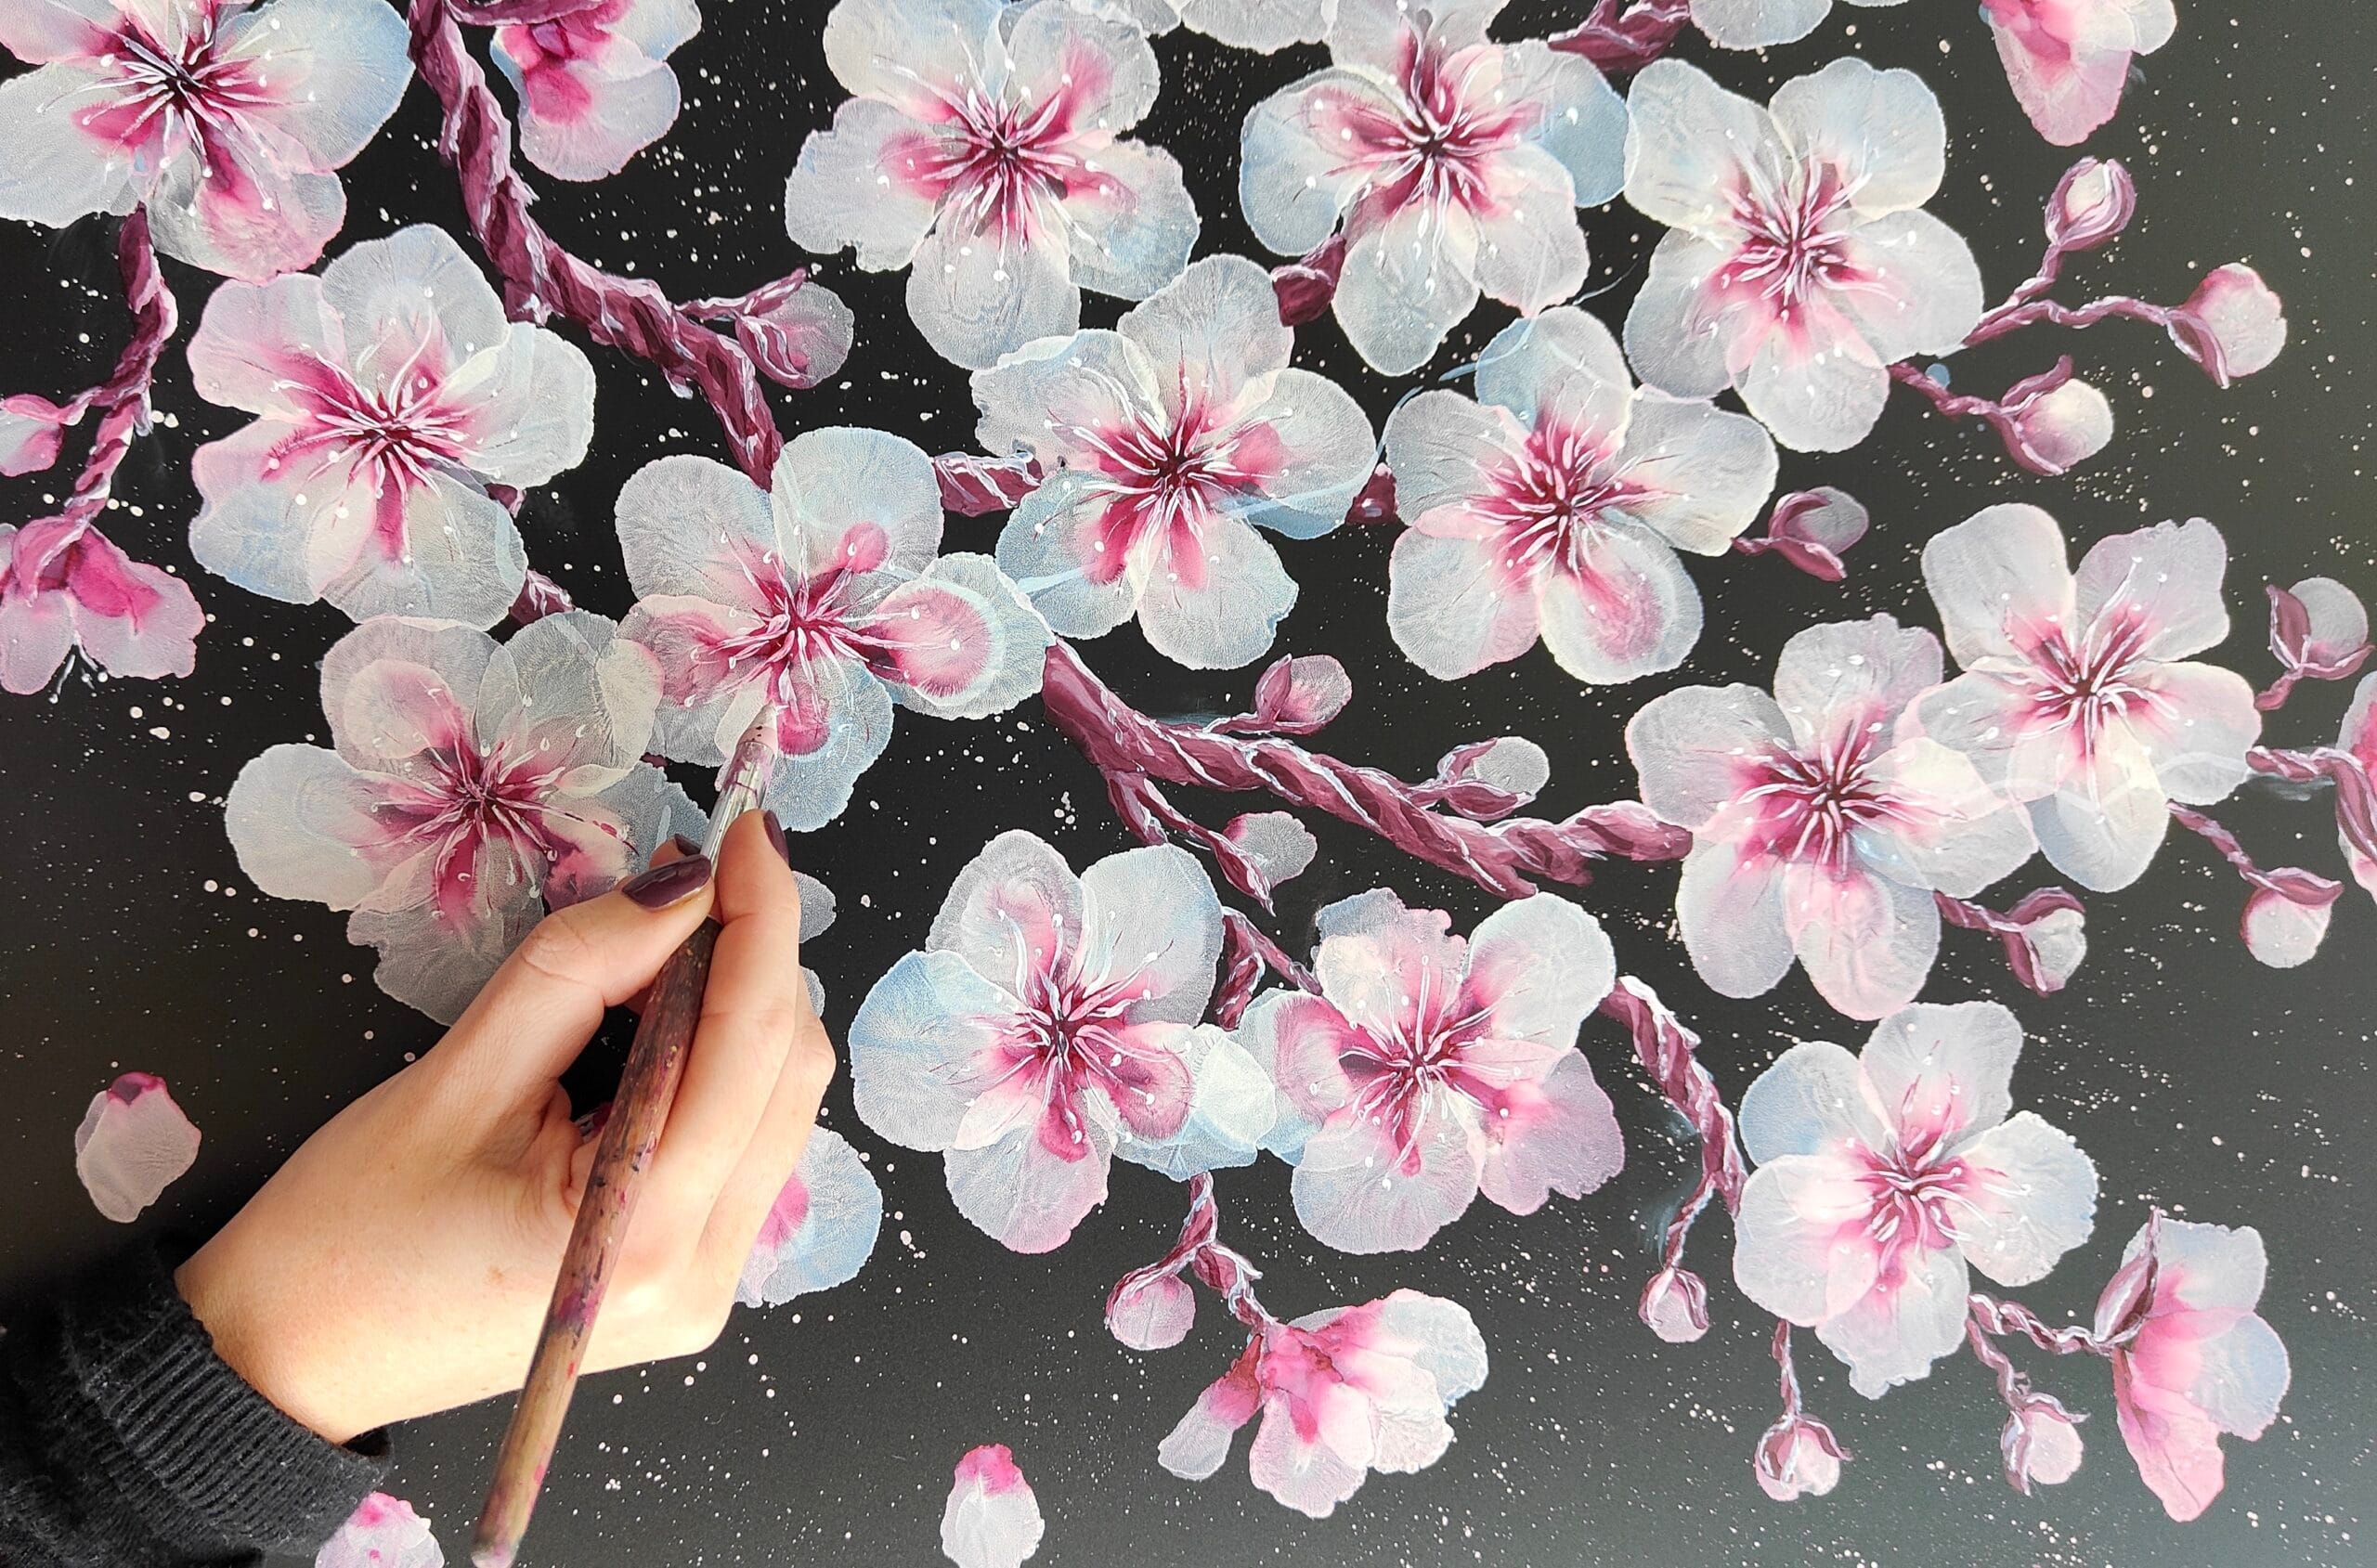
- Thanks to their opacity, white inks are visible on black surfaces, unlike their transparent counterparts. This makes them essential for working on dark backgrounds (see picture).
- Additionally, white inks are excellent for adding fine details, especially in floral designs. Their thicker consistency works to your advantage here, as they don’t spread as easily, making them perfect for use on their own or when blended with other colors to create details*.
*Of course when using white ink for adding floral details, don’t mix the white ink with isopropyl as then you want to use the thick quality of the ink.

3. How can you best work with white inks?
Now the trickiest question, how should we then work with these thick, opaque white inks…
My advice:
- To get the most out of white inks, always pre-mix them with 91% or 99% alcohol before applying. Mixing the ink with alcohol makes it much easier to flow across the paper.
- A good starting ratio is 50/50 white ink to alcohol. Adding more alcohol will make the white ink more transparent, so experiment to find the right balance for your needs, as the thickness of white inks can vary between brands.
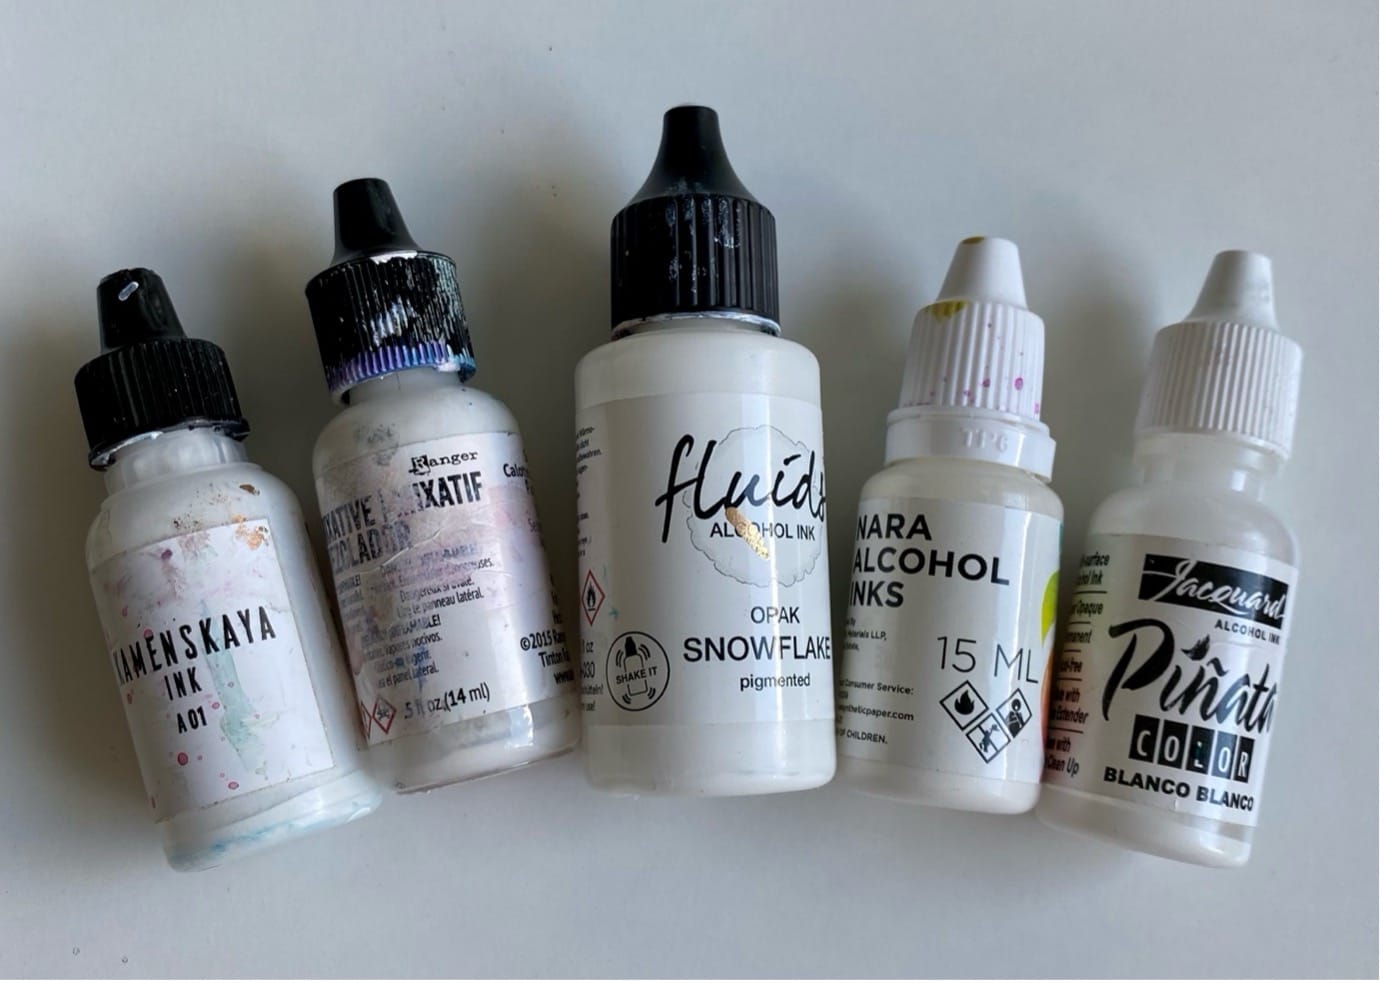
- For convenience, you can pre-mix the white ink in a small needle bottle, allowing you to store and reuse it for months. If you’d like to add color, you can either pre-mix the desired shade or simply drop a bit of ink into your white mix directly on the paper.

Pre-mixed whites in needle bottles
My favourite white inks?
It depends on the technique but generally, Kamenskaya White Ink is my favourite to work with – check out my discount code below. For adding details, I prefer the thick consistency of Ranger Ink Snowcap and for adding beautiful texture, I go for Pinata Blanco Blanco.
Want more tips and tricks?
Follow me on Instagram or check out one of my courses, filled with alcohol ink tutorials!
Kamenskaya Ink 10% discount code*
Get 10% discount using the code “ANNEROOS”. Kamenskaya has a beautiful range of colors, as well as innovative alcohol inks such as their delaminating inks and chameleon (pearl like) inks that look beautiful on black. I can also recommend their Bronze ink. They have a starter set with 50 alcohol inks!
*This is an affiliate link, which means that if you click on them and make a purchase, I’ll receive a small commission at no extra cost to you (and most times even a discount/extra). I only share products I love using myself.